

Modules
Nine rungs. Two of them need no telescope at all, which is why they are the two people skip and then come back to.

Episodes
Each one filmed and written, and each finishable in a sitting. The longest runs about fourteen minutes; the shortest is four and it is the one people quote.

Worked examples
A real frame taken apart from the start, at every stage, including the stages that go backwards. Present from module 2 onward.
The nine rungs
Inventory of all episodes per each module
They are made to be watched in their sequential order as each module builds on the knowledge acquired in the previous one. Each module comes with timestamped topics, so you can skip parts you are already knowledgable about or easily revisit later to jog your memory.
Module 1 — What the first hour is for · 7 episodes
1. The three things that must be true before anything else is worth attempting · 2. Setting up in the dark without a torch on · 3. What the first hour is actually for, which is not photographs · 4. The four frame types, and what each one records · 5. Reading a preview that looks like nothing · 6. Two failure modes of the first hour, and how to tell them apart on screen · 7. What to do when the answer is to go back inside. Four worked examples.
Module 2 — Making the mount hold still · 8 episodes
1. What tracking error looks like at three exposure lengths · 2. Polar alignment, and how close is close enough for your focal length · 3. Balance, and the two axes people balance wrongly · 4. Backlash, and why it only shows on one side · 5. Cable drag, which is not a joke · 6. Periodic error, and whether yours matters · 7. Guiding: what it fixes and what it cannot · 8. Deciding your maximum usable exposure by measurement. Six worked examples.
Module 3 — Focus, and knowing you have it · 6 episodes
1. Why focus cannot be judged by eye on a small screen · 2. The measurement that replaces judgement · 3. Temperature drift, and how often to recheck · 4. A Bahtinov mask, and its one failure mode · 5. Focusing on a night with no bright star in frame · 6. Recognising a focus problem after the fact, when it is too late to fix. Four worked examples.
Module 4 — Calibration frames, and what each one removes · 8 episodes
1. What a dark frame records and what it therefore removes · 2. Matching darks to lights, and the three things that must match · 3. Bias frames, and when you can skip them · 4. What a flat frame actually fixes · 5. Two ways to take a flat badly · 6. Dust, and why it moves between sessions · 7. Building a library you can reuse, and how long each kind stays valid · 8. When calibration makes an image worse. Seven worked examples.
Module 5 — Choosing a target your sky can give you · 5 episodes
1. Surface brightness, and why it matters more than magnitude · 2. What a bright sky takes away first · 3. Narrowband from a city, and the honest version of what it buys you · 4. Altitude, and the hours a target is genuinely worth shooting · 5. Building a season plan you will actually follow. Three worked examples.
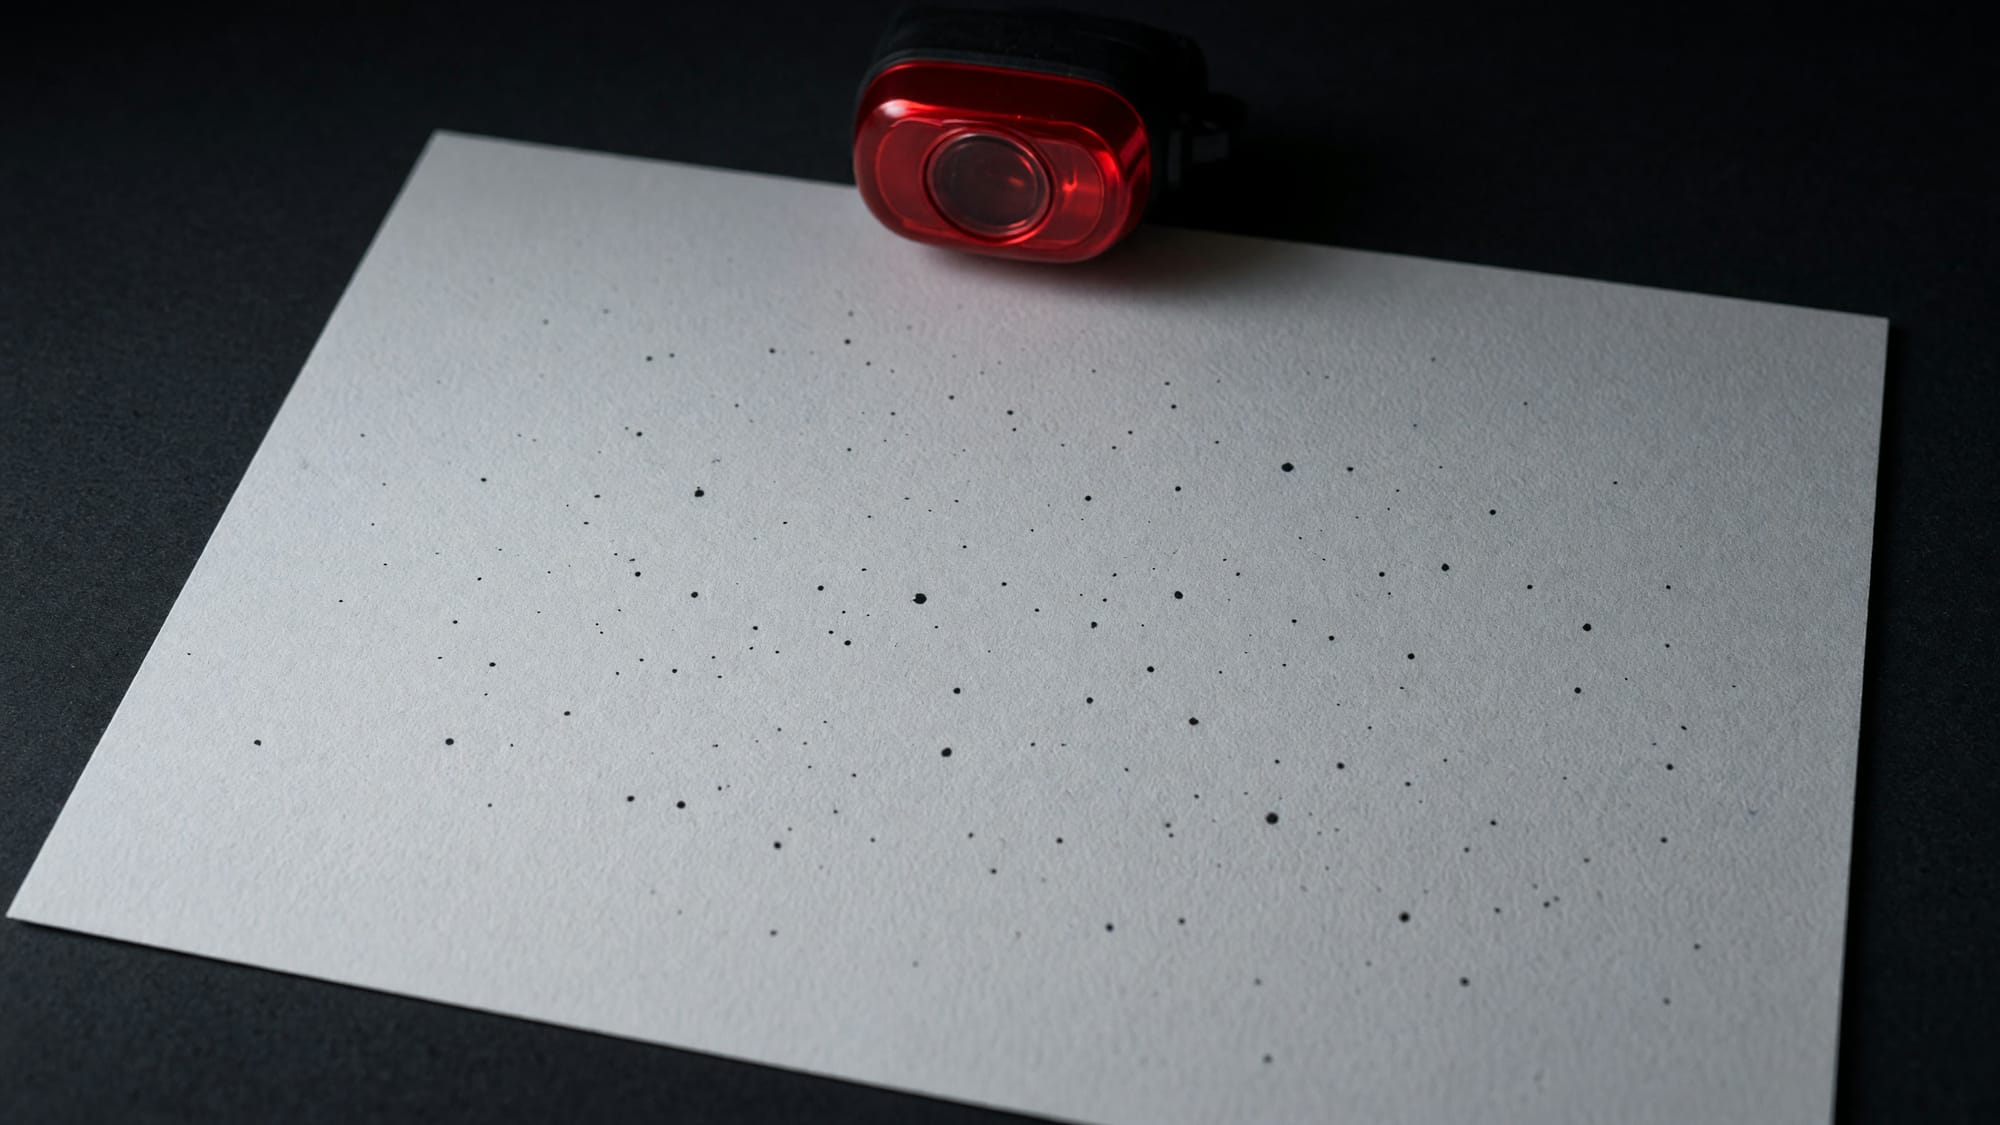
Module 6 — Throwing frames away · 6 episodes
1. Two hundred frames are not two hundred votes · 2. The measurement that decides, taken before anything is combined · 3. Satellites, aircraft and the frames that are fine anyway · 4. Cloud you did not notice at the time · 5. Where the curve flattens, and how to know you have reached it · 6. Keeping a log that answers next season's questions. Five worked examples.
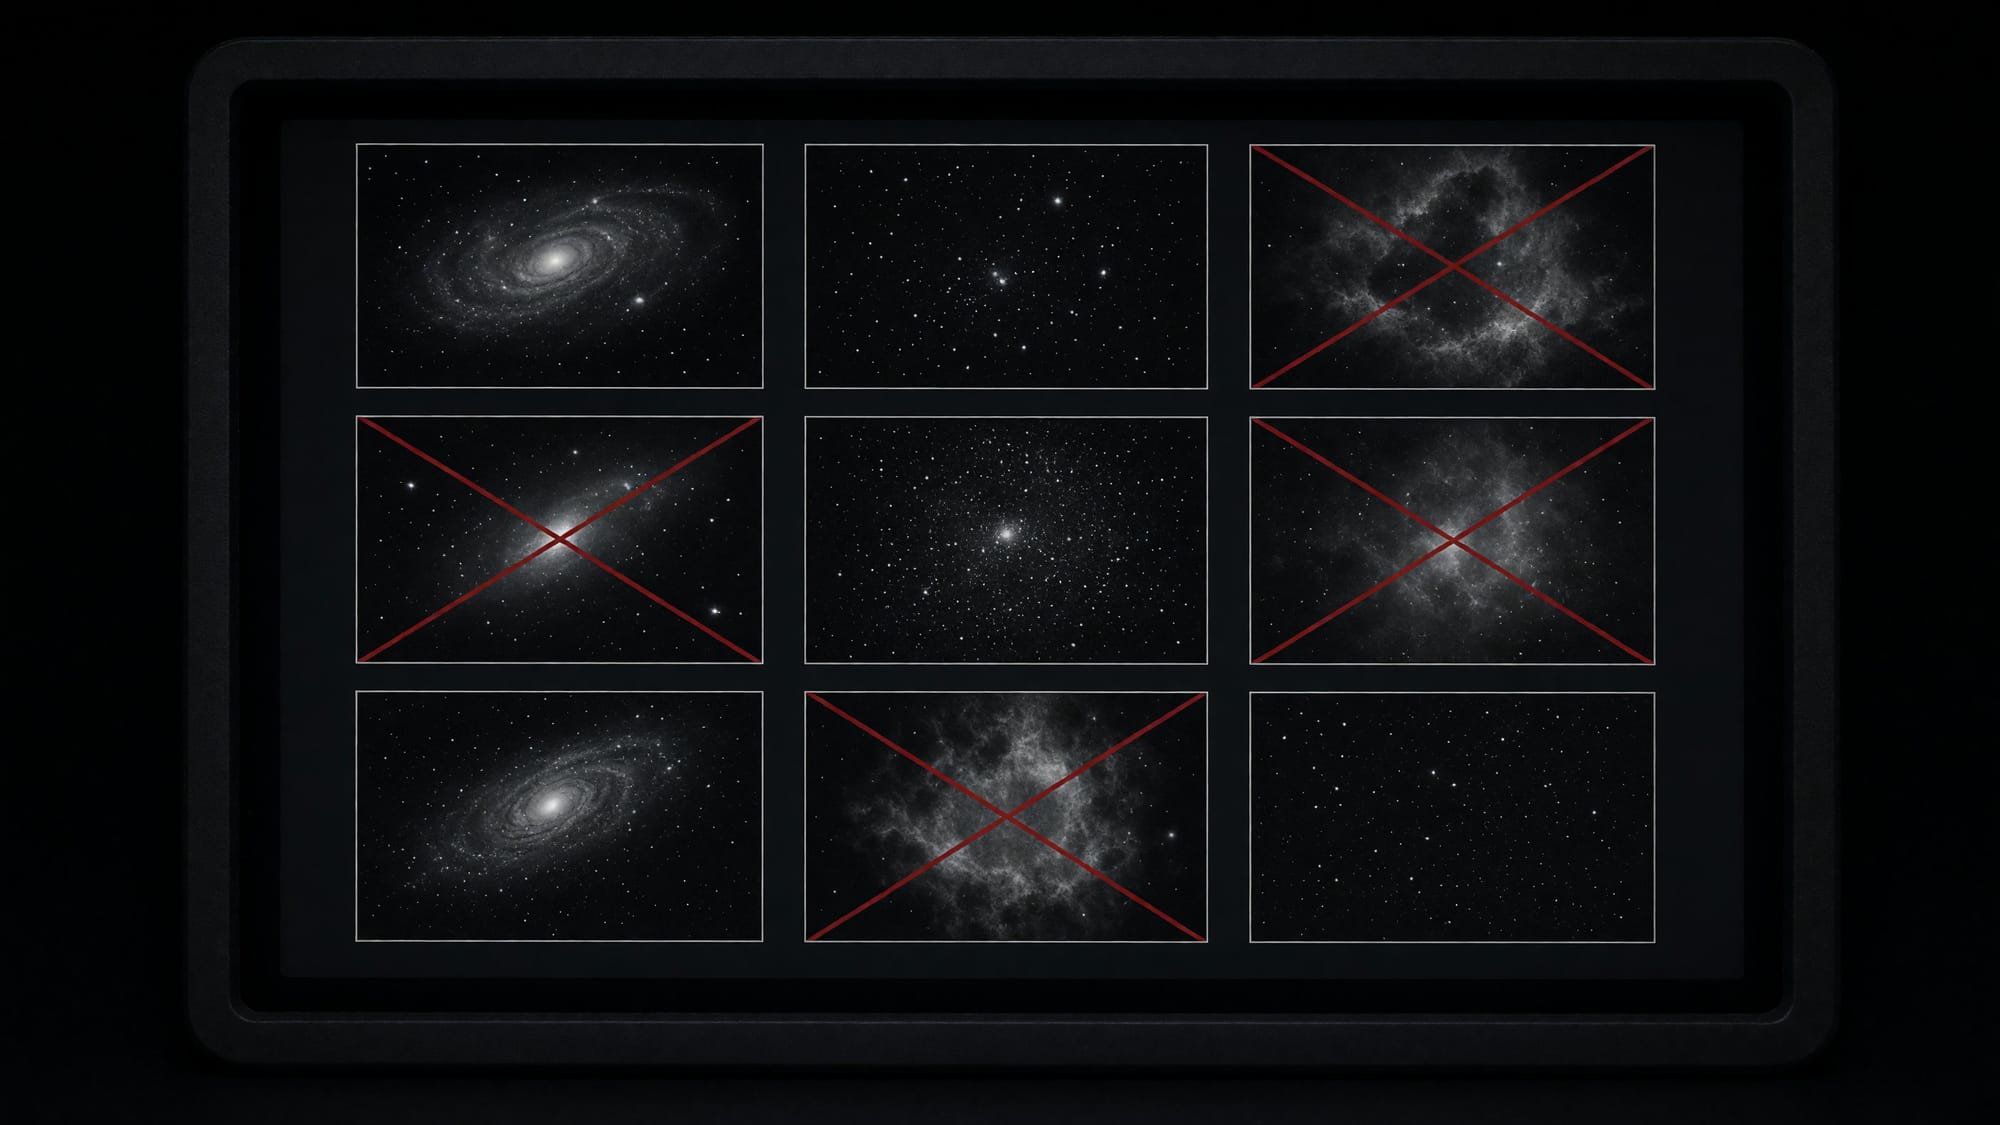
Module 7 — Stacking, and the settings that matter · 7 episodes
1. Registration, and what happens when it fails quietly · 2. Rejection algorithms in plain language · 3. The three settings that change the result and the eleven that do not · 4. Drizzle, and when it is not doing anything · 5. Stacking sets from different nights · 6. Colour, and where it comes from · 7. Reading the output before you go any further. Five worked examples.
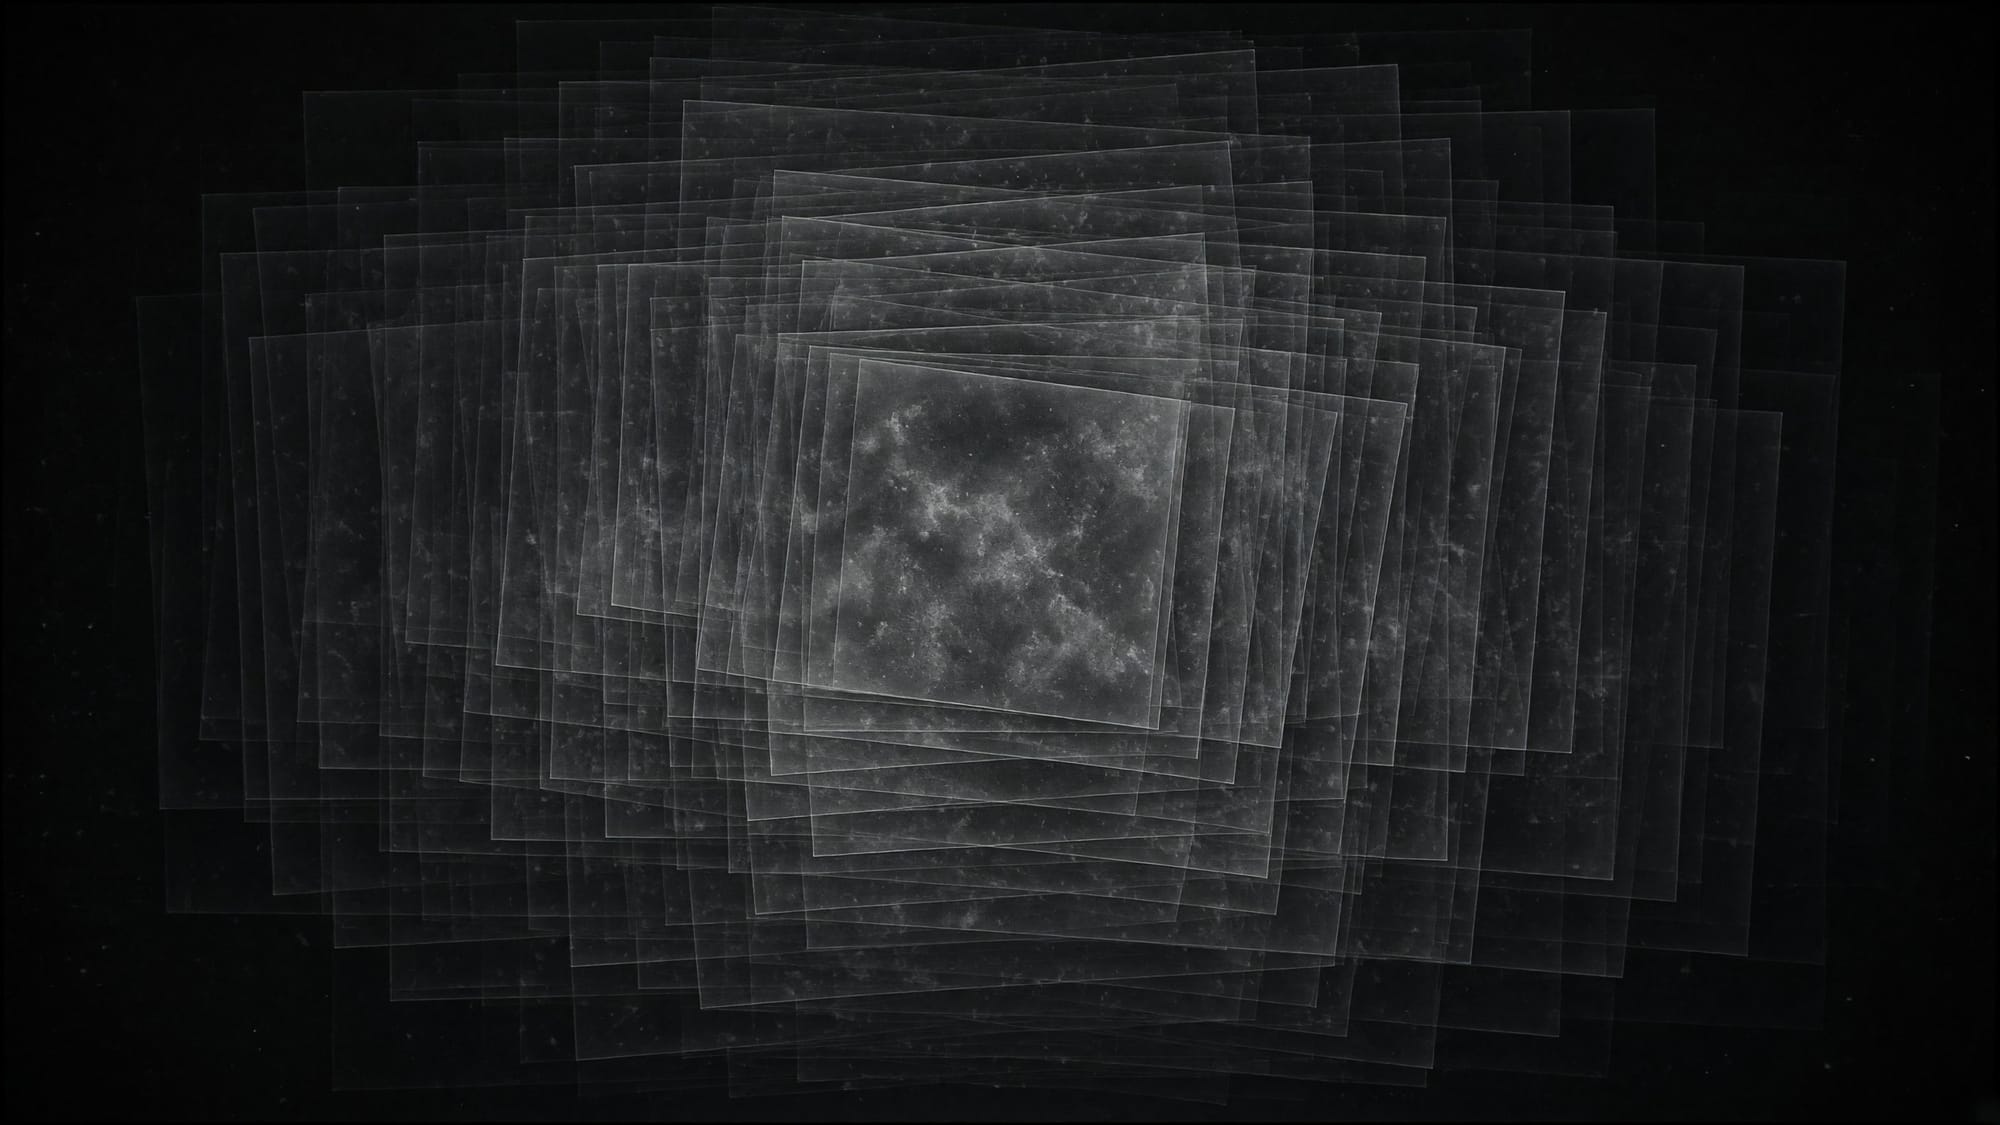
Module 8 — Gradients, and getting them out · 8 episodes
1. Where a gradient comes from, and why yours is not symmetrical · 2. Measuring one instead of eyeballing it · 3. Modelling and subtracting, step by step · 4. Over-correction, which looks like success · 5. Gradients that are actually the object · 6. Moonlight, and what it costs at each phase · 7. Repeat offenders: the streetlight, the neighbour's window, the horizon · 8. What to do when it cannot be removed. Six worked examples.
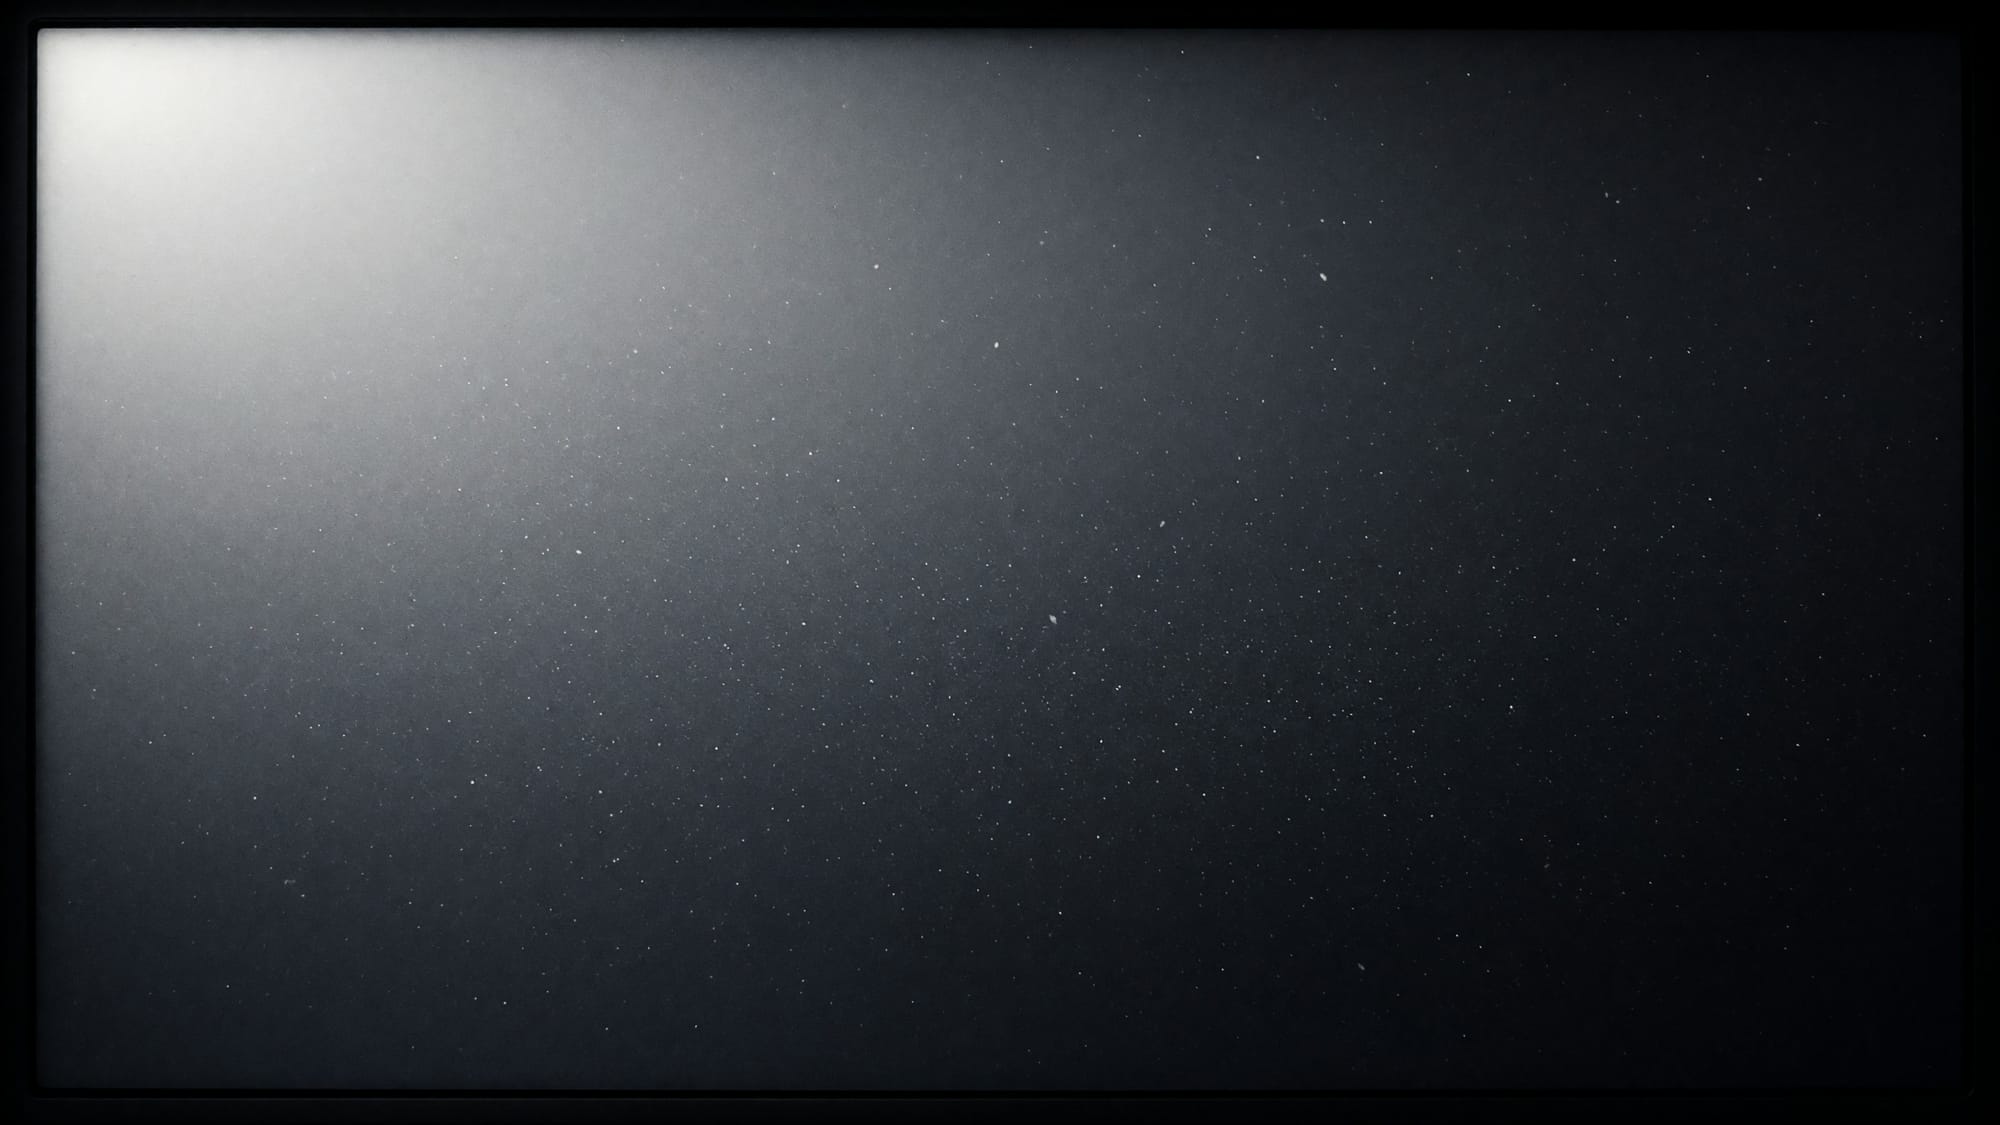
Module 9 — Stretching without lying · 6 episodes
1. Why the interesting part is a fraction of a percent above the floor · 2. Stretching as a choice about what to exaggerate · 3. Keeping star colour through a stretch · 4. Noise reduction, and the point at which it starts inventing · 5. Sharpening, and the same question again · 6. Knowing when to stop, which is the actual lesson. Three worked examples.
Is this for you?
The honest version, because a course that will not tell anyone to leave is not being straight with the people who stay.

Yes, if you already own a mount
Anything that tracks. You do not need a good one, and two modules assume you have a bad one.

Yes, if your sky is bad
Bortle 6 through 9. Every worked example was shot under a Bortle 8 sky, so nothing here assumes a sky better than yours.

Yes, if you want it written down
Every episode is filmed and then written out in full. Watch it once, then read the paragraph you actually needed.

Yes, if you have images that do not work
Modules 6 through 9 run entirely on frames you already have, including the ones you were about to delete.

Yes, if you have an hour a week
Each episode finishes in a sitting. Nothing here needs a clear night to make progress on.

Yes, if you are teaching others
Society imaging sections are about a fifth of the readership, and quoting from it with attribution is fine.
It's not for you if…

You have never tracked
Get one tracked thirty-second frame first, by any means. After that this makes sense; before it, it will not.

You want planets
This is deep sky — faint, long, stacked. Planetary imaging is a genuinely different craft and none of it is here.

You want a shopping list
Nothing here tells you what to buy. Two modules are specifically about getting more out of what you already own.
What you need before module 1
| Minimum | Better | Not needed | |
|---|---|---|---|
| Mount | Anything that tracks | A small equatorial you can polar-align | A permanent pier |
| Optics | A 50mm lens | A short refractor, 300–500mm | Anything over 700mm, which a city sky punishes |
| Camera | Any camera with manual exposure | A cooled camera, eventually | A cooled camera, at first |
| Filter | None | One broadband light-pollution filter | A full narrowband set |
| Computer | Whatever you already own | The same, with more disk | A dedicated observatory machine |
| Sky | The one outside your window | The same sky, on a night with no moon | **A dark site.** That is the entire reason this exists |